As with most old vehicles, various accessories have been added over time leaving a confusing mess of extra wiring and some questionable connections. The restoration has been a perfect time to tidy this up and add some support to take the load off the 40 year old factory wiring.
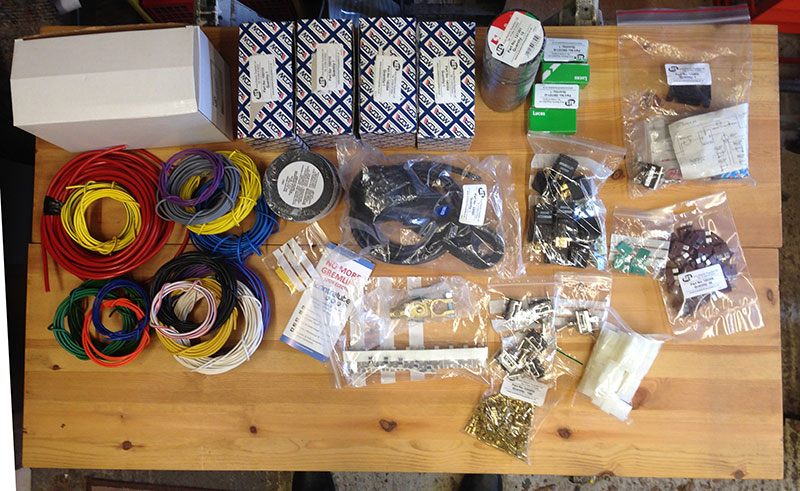
Loads of bits, ready to fit.
The auxiliary switches have been placed in a bank to the right of the main instrument array (I'll organise some nicer labels and make a piece to fill the gap at the top of the panel later).
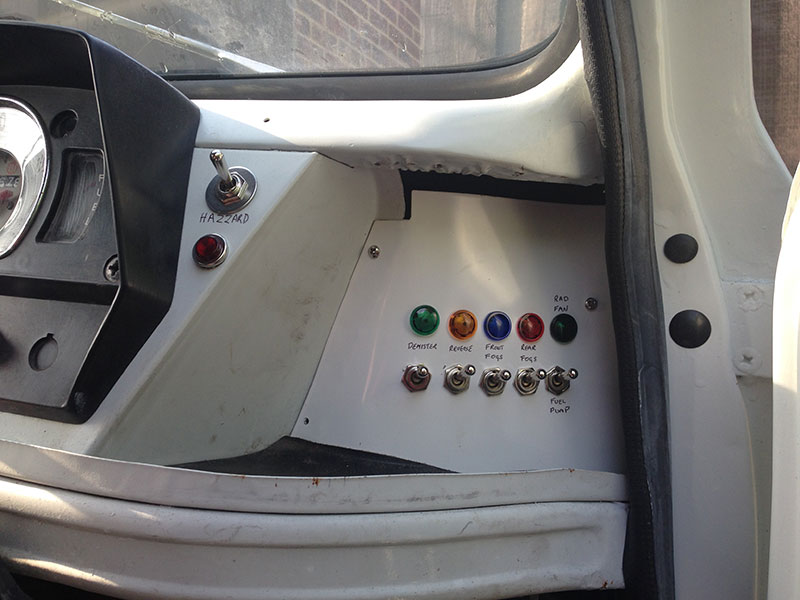
The light on the far right indicates when the electric radiator fan is running.
All auxiliaries are centrally fused with relays for any potentially heavy load circuits... including new relays for the dipped and main beams.
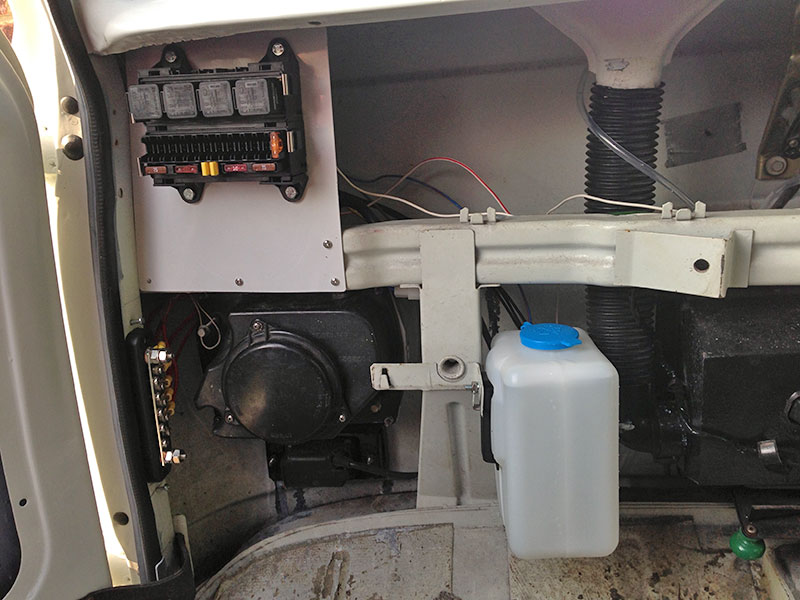
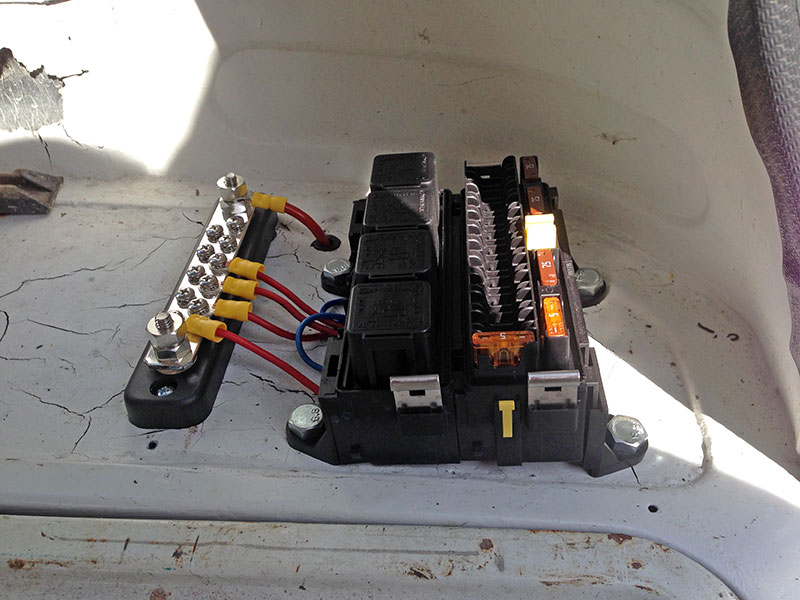
Supply comes via a 35amp (5mm) cable direct from the battery (25amp in-line fuse) to a buzz-bar (shown to the left of the headlight). This makes it much easier to distribute the power - no splicing into cables etc.
Note: The fusebox and buzz-bar are shown without the covers on for clarity.
Reading left-to-right, the fuse positions 1 to 8 have been reserved for the upgrade to the existing fuse box - a future project to swap over from ceramic to blade fuses (and keep them together).
Surprisingly, for a 40+ year old vechicle there were very few bulbs to replace and bad earths/connections to fix.
Accessories at the back of van have their own separate fusebox and relays.